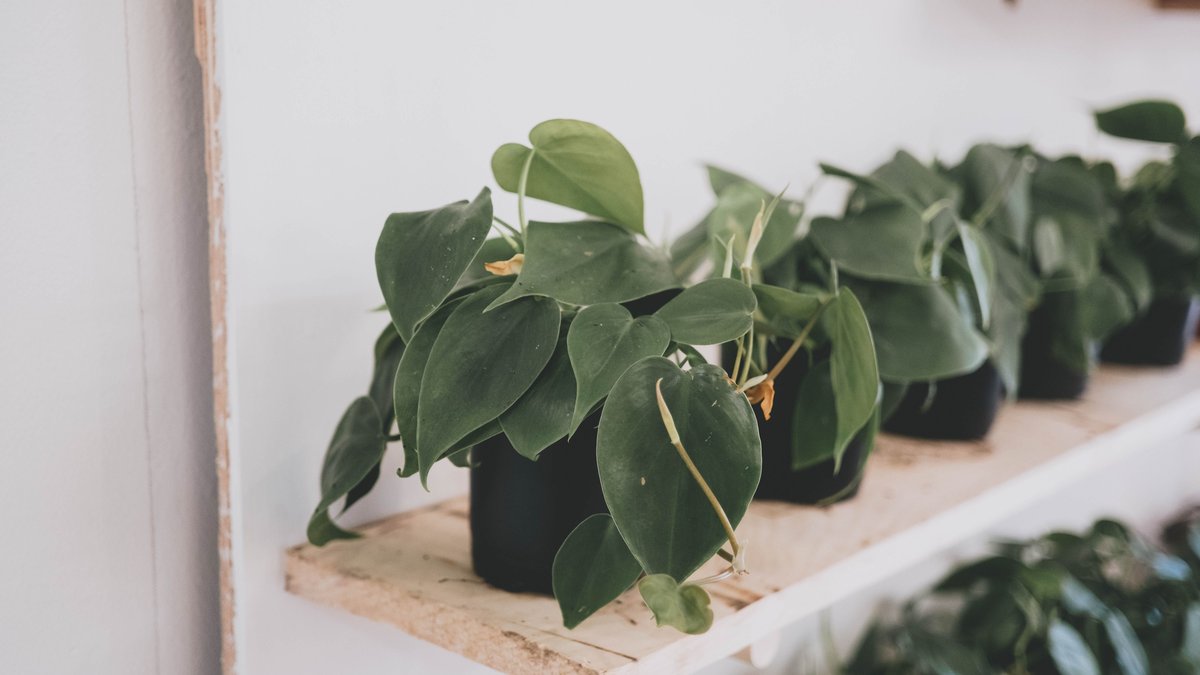
Pothos (Epipremnum aureum) is one of the easiest houseplants to multiply — every vine is full of potential new plants. A single healthy plant can become five or ten in a few months, with nothing more than a pair of scissors and a jar of water.
The whole process comes down to one rule: every cutting needs a node. Get that right and the rest is nearly foolproof.
What you need
You don’t need special equipment:
- A healthy pothos with at least one long vine
- Clean scissors or pruners
- A glass jar or small container
- Fresh water (tap water left out overnight is fine)
- Optional: a small pot with well-draining potting mix for the soil method
How to take cuttings
Find a vine with several leaves and follow the vine down to where a leaf joins the stem. That small bump — often with a tiny aerial root already starting — is the node, and it’s the only place new roots will grow.
- Pick a vine section with at least 4-6 leaves.
- Cut about 1 cm below a node with clean scissors. A sharp, straight cut is better than a crushed one.
- Remove the bottom 1-2 leaves so no leaves sit below the water line or buried in soil. Leaves underwater rot and invite bacteria.
- Repeat — you can take several cuttings from one vine. Cuttings with 2-3 nodes root faster than single-node ones.
Golden, marble queen, neon, and jade pothos all propagate exactly the same way. Satin pothos (Scindapsus pictus) also roots well but is noticeably slower — expect an extra week or two.
Method 1: Water propagation
Water rooting is the beginner-friendly option because you can see every root appear.
- Place each cutting in a jar with 2-5 cm of water — enough to cover the nodes, but no leaves submerged.
- Set the jar in bright, indirect light. A shelf a meter or two from a window is ideal. Direct sun heats the water and can cook the stems.
- Change the water every 3-5 days. Fresh water keeps oxygen levels up and prevents the cloudy film that leads to rot.
- Watch for roots. Most cuttings show the first white roots within 1-2 weeks, and by 4-6 weeks the roots are usually 2-3 cm long and ready for soil.
If a cutting starts yellowing, check that no leaf is underwater and that the jar isn’t in direct sun.
Method 2: Soil propagation
Soil rooting skips the transplant step, which means the roots never have to adapt to a new medium.
- Fill a small pot with well-draining potting mix and moisten it lightly.
- Push the cutting in so the bare nodes are covered — the lowest leaf should sit just above the soil.
- Keep the soil evenly damp for the first few weeks. Pothos cuttings in soil have no roots yet, so they can’t dry out between waterings the way an established plant can.
- Roots typically form in 2-4 weeks. You’ll know it worked when new growth appears or the cutting resists a gentle tug.
To speed soil rooting up, you can root the cutting in water first (2-3 weeks), then move it to soil once roots are a couple of centimeters long. This combines the visibility of water with the permanence of soil.
Water vs soil: which should you choose?
| Factor | Water | Soil |
|---|---|---|
| Root visibility | Yes — watch roots grow | No — wait for new leaves |
| Transplant shock | Small risk when potting up | None |
| Rot risk | Low if water is changed | Low if soil drains well |
| Speed | Slightly faster start | Similar overall |
| Best for | Beginners, kids, gifts | Skipping a step |
Both methods are reliable. Pick water if you’re new to propagation or want to see progress; pick soil if you want to plant and forget.
When to pot up and aftercare
Move water-rooted cuttings into soil when the roots reach 2-3 cm long. Use a pot with drainage holes and a loose, airy mix. Water the new plant thoroughly once, then let the top inch of soil dry before watering again — the same soil-checking habit we cover in our spider plant watering guide.
Keep the new plant in bright, indirect light and hold off on fertilizer for the first month; the fresh mix already has enough. Over the following weeks the cutting will put out its first new leaf, which is the clearest sign the propagation worked.
Common problems and fixes
- No roots after a month — the cutting is likely in too little light or a cold spot. Move it to bright, indirect light and keep it above about 18°C.
- Mushy, dark stem — rot. Cut above the damaged part, make a fresh cut just below a healthy node, and restart with clean water.
- Yellowing leaves — usually leaves sitting underwater or harsh direct sun. Remove the affected leaves and adjust the position.
- Wilted cutting in soil — the soil dried out before roots formed. Water more often while the cutting has no root system, and consider a clear bag over the pot to hold humidity.
The one thing to remember
Every pothos cutting needs a node — that’s the entire secret. One vine, a jar of water, and a few weeks is all it takes to turn a single plant into a shelf full.
If your existing pothos is looking stressed, our guide to fixing curling pothos leaves covers the six most common causes before you start multiplying the problem. New to houseplants altogether? The beginner houseplant guide is a good place to start.