Hanging curtains is mostly a measuring job. The rod position decides whether the window looks tall and finished or low and cramped, and the same pair of panels behaves differently depending on where you set the brackets. Get the height and the width right before you drill, and the rest of the project takes a few minutes.
This guide covers what to measure, the two rod heights that work in nearly every room, how far past the frame to go, and how to choose a panel length that ends where you intend. If you have not decided on window coverings yet, start with the curtain or blind decision, then come back for the measurements.
What to measure first
Write down four numbers before buying anything:
- Window frame, from the outer edge of the trim on one side to the outer edge on the other.
- Frame height, from the top trim edge to the sill.
- The gap from the top of the frame to the ceiling or crown molding.
- Floor to sill height, plus how much baseboard sits below.
The gap above the frame is the number that decides everything. A tight gap of 2 inches or less leaves no room to mount high, so the panels end up closer to the frame. A gap of 8 inches or more gives you room to hang near the ceiling and pull the eye upward.
The two rod heights that work
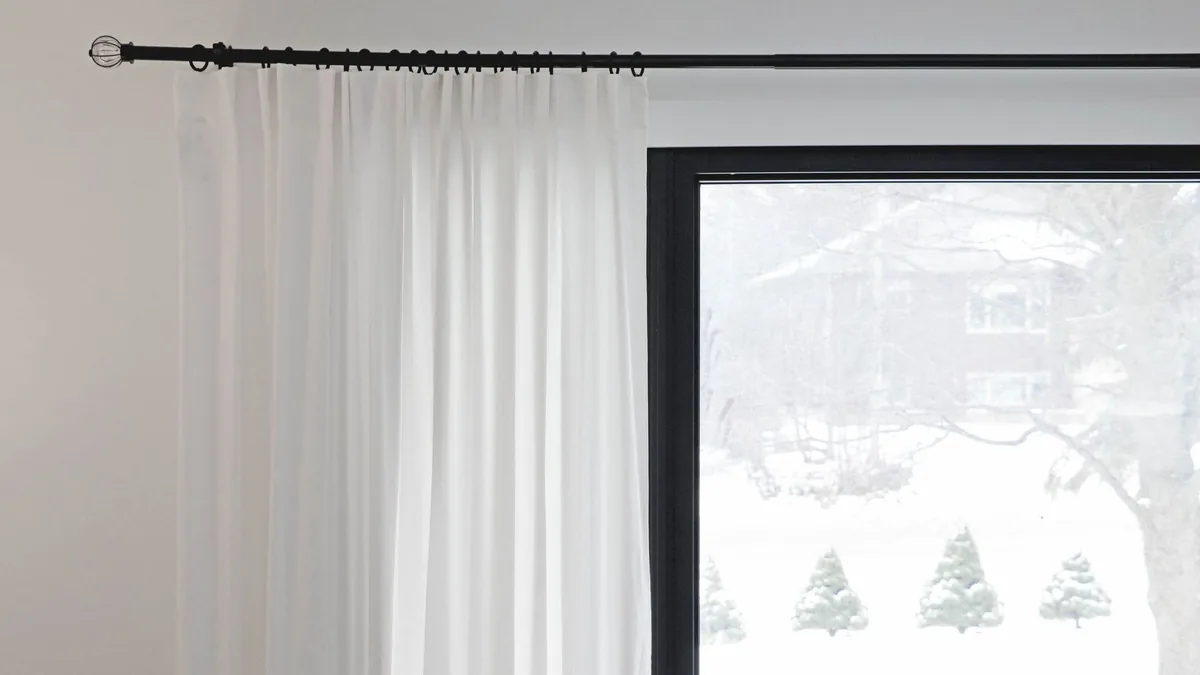
Near the ceiling. Place the rod 2 to 4 inches below the ceiling line, or halfway between the frame top and the ceiling, whichever keeps the rod clear of crown molding. This is the height that makes standard 8 foot walls feel taller and is the safest choice for living rooms and bedrooms.
Just above the frame. Place the rod 4 to 6 inches above the top trim. This reads as a deliberate, paired look and makes sense when the wall above the window is short, when a heating or cooling vent sits near the ceiling, or when a valance or cornice will cover the rod anyway.
Avoid mounting the rod level with the frame itself. It is the most common shortcut and the one that makes windows look smaller, because the panels stop at the sill line and the whole wall above the window stays empty.
How wide the rod needs to be
Curtains are not meant to sit over the glass. They need somewhere to go when you open them.
Extend the rod 6 to 10 inches past the frame on each side, which makes the rod 12 to 20 inches wider than the window. That extra space lets each panel stack against the wall beside the glass, so the window stays fully open in daylight instead of half covered by fabric. On a very wide window, stay closer to 6 inches per side so the rod does not start to look like a rail.
Fullness is the second half of the width question. Plan for fabric measuring 2 to 2.5 times the rod width in total. A 56 inch rod, for example, wants 112 to 140 inches of fabric across both panels, which usually means two panels of roughly 56 to 70 inches each. Fewer panels look flat and stretched, and they let light leak at the center.
Choosing the panel drop
Panel length is a style decision, but it has to fit the room and the traffic passing under it. There are five standard drops:
| Drop | Where it ends | Best for |
|---|---|---|
| Sill | Just at or slightly below the sill | Kitchens, baths, and windows above counters or radiators |
| Apron | 2 to 4 inches below the sill | Rooms where full length is not practical |
| Floor | Touching the floor, barely grazing | Living rooms and bedrooms, the most flexible choice |
| Break | 1 to 2 inches of fabric resting on the floor | Formal rooms, adds weight and a tailored look |
| Puddle | 4 inches or more pooling on the floor | Traditional and very formal spaces, needs weekly attention |
The apron drop is the one that most often looks accidental. If the panel stops a few inches above the floor and the room does not have a clear reason for it, the eye reads it as a measuring mistake. Choose sill, floor, or break, and skip the in-between.
Length also changes the illusion. A panel that runs from a high rod all the way to the floor draws one long unbroken line, which is why the near-ceiling rod works so well. The same panel hung 6 inches lower and ending 6 inches above the floor creates two short lines instead.
Hardware details that decide the result
Brackets need to hold the rod far enough from the wall that the stacked panels do not rub the trim or get caught on window hardware. A rod longer than about 6 feet usually needs a center support bracket, otherwise it flexes and sags in the middle.
Match the fasteners to the wall. Into a stud, a screw is enough. Into drywall or plaster, use anchors rated for the weight of the fabric, and remember that lined and blackout panels weigh far more than they look. For renters and light sheers, a tension rod inside the frame or an adhesive-mounted track avoids drilling altogether.
Then set the rod once and leave it. A setting that looks right at midday, when the room is brightest, is the one you will be happiest to leave alone.
Rooms where the rules shift
In a small room, hang high and wide anyway. A rod that reaches toward the ceiling and past the frame on both sides makes a compact wall feel larger, and the layout ideas for tight rooms work better when the window wall is not broken by a low rod.
Windows with furniture under them, such as a sofa back or a radiator, set the panel length rather than the style. Sill or apron length keeps fabric off the surface and keeps heat away from the radiator. If plants live on the sill, sheer panels filter harsh afternoon sun while still letting in the light that leafy types need, and the guide to styling plants near windows explains which plants tolerate direct sun.
Curtains, comfort, and energy
Curtains are the most common fabric window covering in U.S. homes. In a U.S. Department of Energy survey of the installed base, curtains and drapery made up about 19 percent of window coverings, and roughly 75 percent of coverings were not adjusted on a typical day. That second number is the one that matters for hanging: position and fit decide how much the fabric actually does, because a covering that sits close against the window traps a layer of air between the fabric and the glass, while a loosely hung panel mostly decorates.
So if comfort is the goal, hang the rod close to the wall and close to the ceiling, and consider layering a rated cellular shade behind the curtains. The Attachments Energy Rating Council publishes energy ratings for window attachment products, so you can compare a shade to the rest of the market before you buy it.
Quick checklist before you drill
- Measure the frame, the gap above it, and the wall on each side.
- Set the rod 2 to 4 inches below the ceiling, never level with the frame.
- Extend 6 to 10 inches past each side, and buy 2 to 2.5 times that width in fabric.
- Choose sill, floor, or break length, and measure the drop from the rod, not the frame.
- Match anchors to the wall and add a center bracket on long rods.