Composting looks like a chore and behaves like an experiment that mostly runs itself. You stack leaves, vegetable peels and grass clippings in a corner of the yard, keep the heap as damp as a wrung-out sponge, and soil microbes do the rest. What comes out is a dark, crumbly amendment that feeds plants, holds water, and costs nothing beyond a little attention.
The trick is getting three things roughly right: the mix of materials, the moisture, and the air. Nail those and a pile works in almost any climate, even in cold-winter areas. Miss them and you get a slimy, smelly heap that makes composting feel like a failure. Here is the whole process, from the first bucket of scraps to spreading finished compost on the beds.
What composting actually is
The EPA describes composting as the managed, aerobic decomposition of organic material by microorganisms: oxygen-required biology, not rot in a bin. Bacteria, fungi and actinomycetes feed on carbon and nitrogen, and their activity generates heat. That heat is the difference between a working pile and a smelly one, because it is also what keeps the process aerobic and eventually kills many weed seeds and pathogens.
The end product, compost, is a stable soil amendment rather than a fertilizer. It builds structure, feeds soil life, holds moisture, and improves almost any soil it is mixed into. Compost is also the most practical way to open up heavy, sticky ground, which is why the fixes in this guide to making clay soil workable lean heavily on it.
The brown-to-green ratio
Carbon is the fuel, nitrogen is the protein. Microbes need both in roughly the right balance or the process stalls: too much carbon and decomposition crawls, too much nitrogen and the pile turns to ammonia and sludge. Penn State Extension puts the preferred carbon-to-nitrogen ratio at about 25 to 30 to 1.
You do not need a lab test. Work by volume instead, which is what most gardeners actually do:
- Browns, about 2 to 3 parts by volume: dry leaves, straw, shredded cardboard, newspaper, twigs, wood chips, sawdust.
- Greens, about 1 part: vegetable and fruit scraps, coffee grounds, tea leaves, fresh grass clippings, plant trimmings, eggshells.
| Material | C:N ratio |
|---|---|
| Autumn leaves | 30 to 80 to 1 |
| Straw | 40 to 100 to 1 |
| Shredded paper and cardboard | 150 to 200 to 1 |
| Wood chips and sawdust | 100 to 500 to 1 |
| Vegetable scraps | 15 to 20 to 1 |
| Coffee grounds | 20 to 1 |
| Grass clippings | 15 to 25 to 1 |
The practical takeaway: leaves are the workhorse and kitchen scraps are the accelerator. Most gardens produce far more autumn leaves than scraps, so stockpile bags of dry leaves in autumn and treat them as currency for the rest of the year.
What to put in, and what to leave out
Add freely: fruit and vegetable scraps, coffee grounds, tea leaves (loose or in paper bags), crushed eggshells, grass clippings, garden trimmings, dry leaves, straw, shredded cardboard without tape or glossy coating, and untreated wood chips.
Leave out: meat, fish, bones, cheese and other dairy, fats and oils, pet waste and cat litter, diseased plants, aggressive weeds with seeds or runners, treated or painted wood, glossy paper, and produce stickers. These either attract animals, carry pathogens or pesticides, or break down too slowly for a backyard heap.
Two of those exclusions matter more than beginners expect. Weed seeds survive a cool pile and come back to haunt the beds, so instead of composting them, follow a different route, such as smothering weeds before they seed. And anything sprayed with a persistent herbicide, including grass clippings from a treated lawn, can damage next year’s plants even after composting.
Pick a system that fits your space
| System | Best for | Effort |
|---|---|---|
| Open pile | Big yards, lots of leaves | Low, but slower and more visible |
| Single bin (wire, wood, plastic) | Most backyards | Low to moderate |
| Tumbler | Small yards, fast batches | Moderate, easy turning |
| Worm bin (vermicomposting) | Patios, balconies, kitchens | Higher, but fits anywhere |
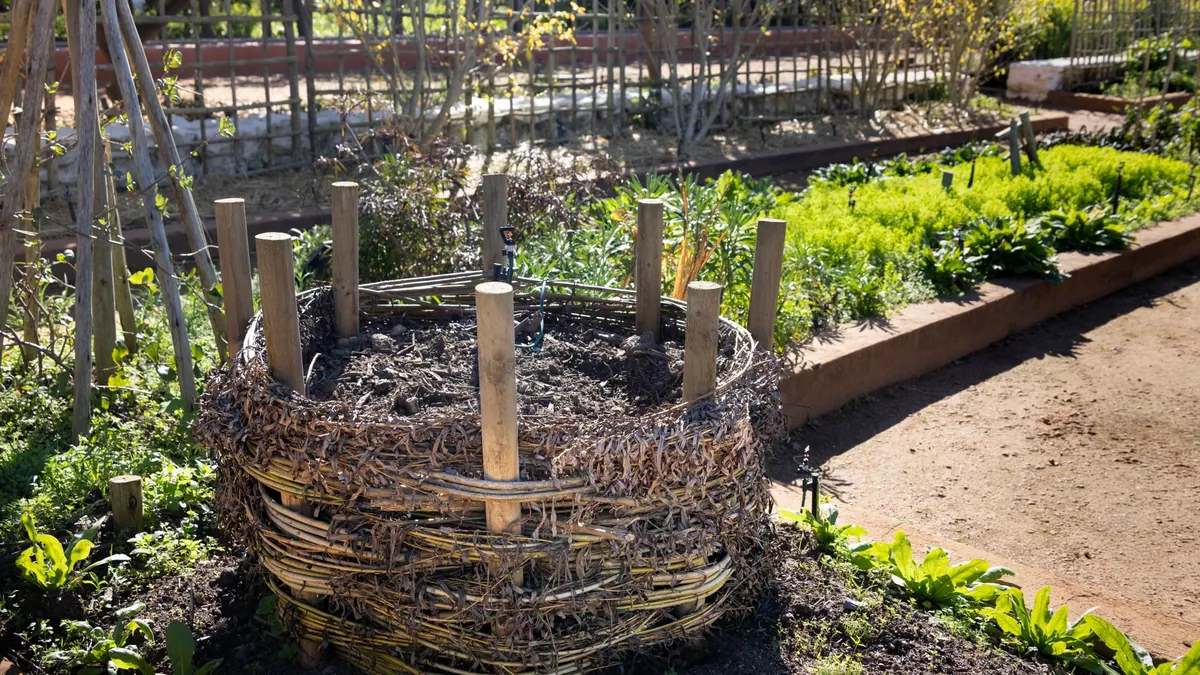
A bin is not required. A wire hoop or a three-sided pallet pen keeps the pile tidy and holds heat better than an open heap. For very small spaces, vermicomposting with red wigglers turns scraps into worm castings in a lidded bin that fits on a balcony. All four systems need the same three ingredients: browns, water and air.
How to build the pile
- Choose the spot. Level, well drained, easy to reach in winter, near a tap if you have one. Sun or shade both work; a spot out of fierce midday sun dries out more slowly.
- Start with bulky browns. A 10 to 15 cm layer of twigs or wood chips at the base keeps the bottom from going sludgy and lets air in.
- Layer greens and browns like lasagna. Alternate roughly 15 cm of browns with 5 cm of greens, watering each layer lightly as you go.
- Finish with browns. Cover every addition of food scraps with 10 to 20 cm of leaves or other carbon material. This one habit prevents smells, flies and rodents.
- Size it up. NC State Extension recommends building the pile three to five feet high and at least three feet across so it can insulate itself and hold heat in the center.
- Keep it as damp as a wrung-out sponge. Squeeze a handful: a few drops should appear. Dry pile, add water while turning. Soggy pile, add browns and turn.
Keeping it working
A pile that heats up in the middle is doing its job. A well maintained heap can reach 55 to 70 C (130 to 160 F), and those temperatures are what break materials down quickly and reduce weed seeds and pathogens.
- Turn every one to three weeks for fast compost, or skip turning entirely for slow compost. Turning is the main lever you control.
- Watch the moisture after rain and in summer heat. Covers help, but a tarp that traps everything can also seal in too much water.
- Chop bulky items. Corn cobs, broccoli stalks and thick stems break down several times faster when cut into smaller pieces.
- Add soil or finished compost occasionally as an inoculant if you are starting fresh, though garden waste will get there on its own.
When something goes wrong
| Symptom | Likely cause | Fix |
|---|---|---|
| Rotten, sour smell | Too wet, compacted, not enough air | Turn the pile, mix in dry browns |
| Ammonia smell | Too much nitrogen | Add browns, stop adding scraps for a while |
| Pile never heats up | Too small, too dry, or too little nitrogen | Build it bigger, water it, add greens |
| Dry and unchanged in the middle | Not enough moisture | Water while turning, cover the top |
| Fruit flies or rodents | Uncovered food scraps | Bury scraps, cover every addition with browns |
| Finished material is lumpy | Materials too coarse, not turned enough | Screen it, return the lumps to the new pile |
Extension guidance is consistent on the food scraps question: backyard piles generally do not get hot enough for meat, dairy and grease, so keep those for municipal or commercial programs rather than your own bin, as University of Maryland Extension explains.
When it is done, and how to use it
Finished compost is dark, crumbly and smells like forest floor, with no recognizable scraps and no heat after turning. Expect two to three months for a hot, turned pile and six to twelve months for a cold one.
Use it in three ways:
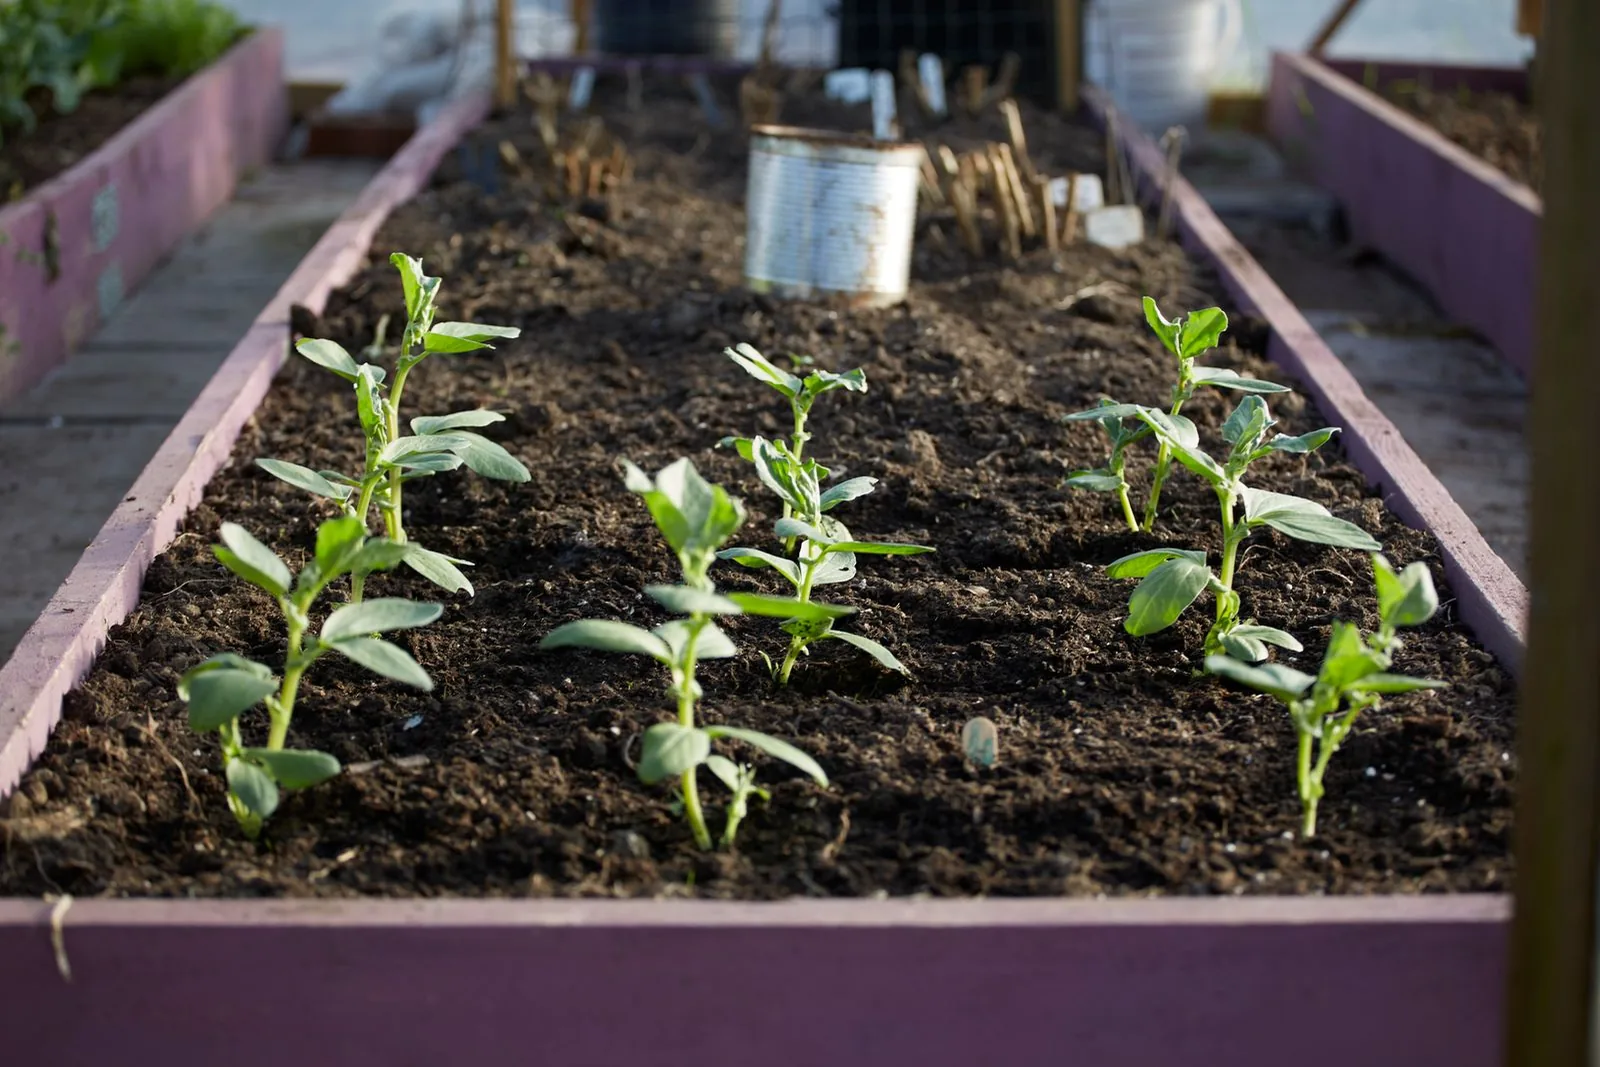
- As a soil amendment. Spread 5 to 8 cm over beds and let worms work it in, or mix it into the top layer when you set up your first vegetable bed.
- As a mulch. A 3 to 5 cm layer around perennials and shrubs feeds the soil slowly and suppresses weeds.
- As potting mix ingredient. Blend roughly one part compost with two parts of a quality potting mix for containers and raised beds.
If you keep a pile going, you will never need to buy soil conditioner again, and every batch you make is a batch of kitchen and yard waste that never leaves your property.
The short version
Two to three parts browns to one part greens by volume, moisture like a wrung-out sponge, air through regular turning, and no meat, dairy or oily food. Layer it, cover your scraps, and let the microbes handle the rest. Compost is patient work with a genuinely free payoff.